What a wonderful sight upon opening the curtains this morning. Snow as far as the eye could see and more continuing to fall on the already thick blanket. I do love the idea of snow but from a practical point of view, it really is most disruptive to daily life. Of course, if there was a viable option of curling up on the sofa with a hot chocolate and an early viewing of 'What a Wonderful Life', I have to admit it would be a tempting way to spend a few hours. However, with four young children housebound and many hungry animals outside, the snow generally means a busier work day for me!


My poor hens took some encouragement to leave their warm house for their breakfast this morning!!

This little Willy Wag Tail always arrives on the back doorstep on cold winters days in search of a 'take away'!!


Since we weren't venturing too far I decided to bake a few loaves of bread with the boys. We made some white soda (a firm favourite), multiseed brown bread (my favourite) and some white yeast bread, which never fails to wow as the dough quickly doubles in size before your eyes!


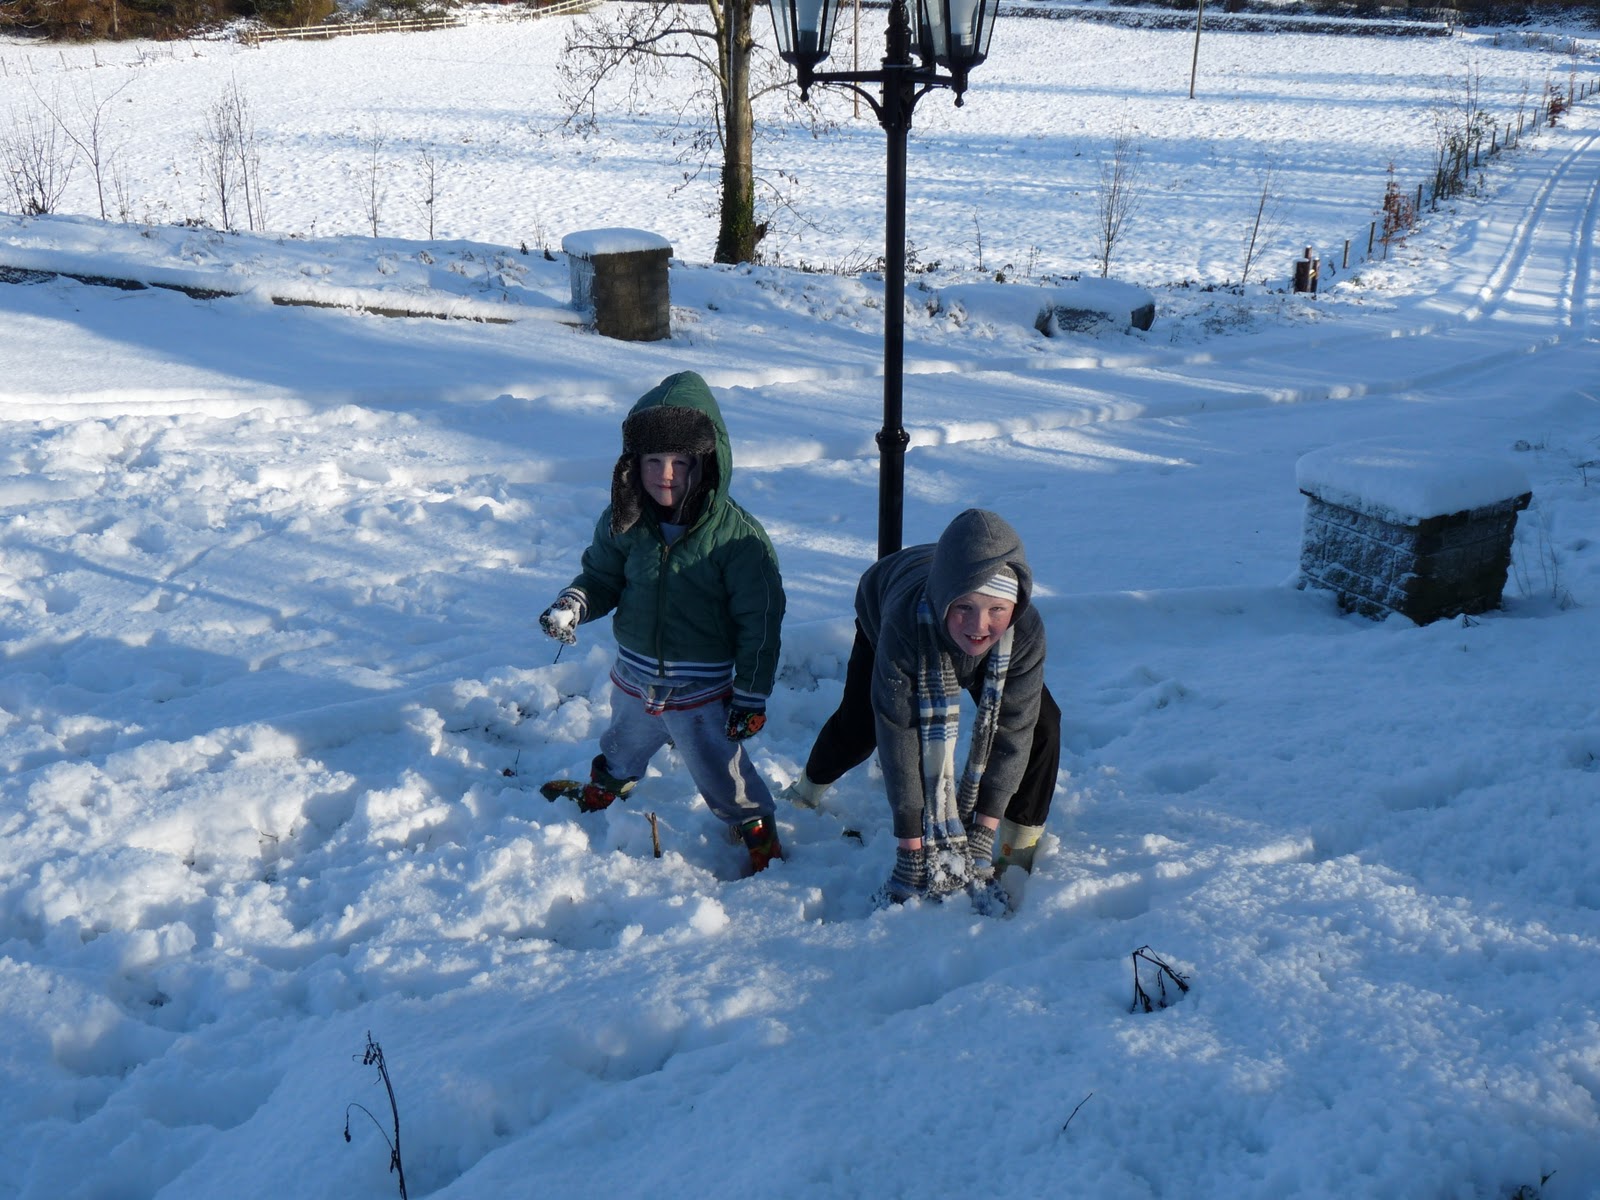
The boys couldn't wait to make a snowman and go exploring around the house, following all the tiny footprints of animals and birds that had walked through the snow earlier.


Fionn did brave the snow but after a few minutes, he decided the cold weather wasn't for him!! He may be only 3 but he certainly enjoys his home comforts.


The recipe below is a basic recipe and once you master this method there are so many different variations you can try. It takes time and patience but once you taste a buttery slice of fresh homemade bread you will agree that it is worth the wait.
.

Ingredients

2 tsp caster sugar
425 ml warm water
7g/ 1 sachet dried yeast, or 20g fresh yeast
750 g strong bread flour, plus extra for dusting
2 tsp salt
40 g butter, or 4 tbsp olive oil
vegetable oil, for greasing
1 egg, beaten
poppy or sesame seeds, for the top of the loaf (optional)

Method

1. In a measuring jug, mix the sugar with 150ml of the warm water and yeast and let stand in a warm place for five minutes, or until frothy. If using fast-acting yeast, there is no need to let the mixture stand. 
2. Sift the flour and salt into a large bowl. Rub in the butter and make a well in the centre. (If using olive oil instead of butter, pour the olive oil into the remaining water.) Pour in the yeast mixture and most of the remaining water (and the olive oil, if using). Mix to a loose dough, adding the remaining water if needed, plus extra if necessary. 
3. Knead for about ten minutes or until the dough is smooth and springy to the touch. (If kneading in an electric food mixer with a dough hook, five minutes is usually long enough.) Put the dough in a large oiled bowl. Cover the top tightly with cling film and place somewhere warm to rise until doubled in size. This may take up to two or even three hours. 
4. Preheat the oven to 220C/gas 7. 
5. When the dough has more than doubled in size, knock back and knead again for 2–3 minutes. Leave to relax for ten minutes before you begin to shape the bread. 
6. Shape the bread into loaves or rolls (I made 2 small loaves with recipe) transfer to a baking tray and cover with a clean tea towel. Allow to rise again in a warm place for 20–30 minutes, until the shaped dough has again doubled in size. When fully risen, it should leave a dent when you gently press the dough with your finger. 
7. Gently (as the bread is full of air at this point and therefore very fragile) brush with egg wash and sprinkle with poppy or sesame seeds (if using), or dust lightly with flour for a rustic-looking loaf. 
8. Bake in the oven for 10–15 minutes for rolls or 30–45 minutes for a loaf, depending on its size. Turn the heat down to 200C/gas 6 after 15 minutes for the remaining cooking time. When cooked, the bread should sound hollow when tapped on the base. Transfer to a wire rack to cool. 


This recipe is taken from Rachel Allen's Bake.


My husband recently bought me the movie Julie and Julia and I found it intriguing. It is a film based not only on one of the most influential ladies in cooking, Julia Child, but also on a young lady who 'blogs' about her culinary experiences while trying out Julia's recipes. Julia Child was completely passionate about everything food related and her enthusiasm for sharing this great love was certainly inspirational. My synopsis doesn't do the film any justice but for any 'foodies' this film is a joy to watch. One of Julia's most famous recipes would have to be her Beef Bourguignon. This dish is also the centerpiece of an impressive food scene in the film. Julia Child has a very distinctive accent and her pronunciation alone of ' Beef Bourguignon' would encourage one to try it out.

As with so many classic dishes there are many varied recipes for the ever popular Beef Bourguignon. It is a hearty stew that greatly benefits from slow cooking over a long period. The quality of the wine is important and even tough I wouldn't use an expensive bottle of red I would recommend you use a bottle that is drinkable. When cooking with wine, be it red or white, the rule is not to cook with any wine that you wouldn't drink!

The perfect accompaniment for beef bourguignon would be creamy mashed potatoes. This substantial dish with it's wholesome flavours makes it the perfect winter meal. Another addition to cooking Bourguignon is the wonderful aroma in the kitchen while this dish is cooking. It is simply incredible!!


Ingredients:

2tbsp olive oil/ rapeseed oil
1.5 kg stewing beef, chopped
180g streaky bacon, chopped
1 onion, diced
3 garlic cloves, crushed
2tbsp plain flour
salt and freshly ground pepper
2tbsp tomato puree
500mls red wine
300mls beef stock or 1 Knorr Beef Stock Pot in 300mls boilng water
500g carrots chopped
2 sprigs thyme
2 bay leaves
25g butter
250g mushrooms

To Serve:
Creamy Mashed Potatoes

Method:
1. Preheat the oven to 180c/gas 4.
2. Toss the beef in some seasoned flour.
3. Heat the oil in the dish and cook the beef in batches.
4. Heat a little more oil in the dish and add the bacon, onion and garlic. Cook for five mins until golden then add the carrots and tomato puree. Gradually add the wine and the beef stock.
5. Add the cooked beef, thyme and bay to the dish. Cover and cook in the oven for 2 hours.
6. Meanwhile melt the butter and cook the mushrooms for 5 mins. Add to the dish and return to the oven for an additional 15mins.
7. Season and serve with creamy mashed potatoes.


In Julia style all there is to say is 'Bon Appetit'!!!

The lovely people at Quadrillle Press sent me Bill Granger's latest book review and what an interesting read it proved to be. Bill's calm, relaxed nature is completely reflected in his latest book-'Bill's Basics'. The book is packed with a large variety of classic recipes catering for every meal from lazy Sunday breakfast to an elegant supper. There are many recipes that will be familiar to restaurant goers which are adapted for the 'home chef' to include French Onion Soup, Thai Beef Salad, Lamb Shank Tagine with Apricots and Spaghetti Carbonara. Bill admits to having a 'sweet tooth' and he has included 9 dessert recipes which are certainly worthy of their place in the book. They are all traditional desserts with Bill's own special twist!! I made the Baked Lemon Cheesecake which was easy to prepare but the result was delicious. I barely had a slice left to take the photos above and below!! Bill also has a full chapter dedicated to baking where he reassures the inexperienced baker that practice is paramount for successful baking.

As a self-taught chef, Bill's no-nonsense approach to cooking is enlightening and this shines through in every dish. His recipes are a breeze to follow using easy to source ingredients.

The photography is simple yet beautiful and would encourage even a novice cook to make their way into the kitchen! This would make a wonderful addition to any keen chefs cookbook collection


Baked Lemon Cheesecake

Ingredients
125g plain sweet biscuits (digestives are best)
50g ground almonds
70g unsalted butter, melted
500g cream cheese, softened
220g caster sugar
4 eggs
1 egg yolk
Grated zest and juice of 1 large lemon
400g soured cream/ 250mls double cream, whipped
1 teaspoon vanilla extract
To serve:
Icing sugar, to dust

Method

  1. Preheat the oven to 140°C/gas mark 1 and grease and line the base of a 26cm round springform tin.
  2. Mix the biscuits to crumbs in a food processor. Mix together the biscuit crumbs, ground almonds and melted butter and press into the bottom of the tin. Put in the fridge while you make the topping.
  3. Mix the cream cheese and sugar in a food processor until smooth. Add the eggs, egg yolk, lemon zest and juice and mix again.
  4. Add the soured cream and vanilla extract and mix again until completely smooth.
  5.  Pour the filling over the base and bake for 1 hour (the cheesecake will still have a definite wobble in the centre). Turn the oven off and cool inside for 1 hour. Transfer to a wire rack to leave the cheesecake to cool completely before covering and refrigerating overnight. 
  6. Run a knife around the inside edge of the tin to loosen the cheesecake, then lift off the side. 
  7. Dust with icing sugar to serve.


The cheesecake benefits from overnight refrigeration as this improves the texture.


If you would like to purchase this book it's available on Amazon UK.


Thank you to everyone who entered the competition and the winner of Neven Maguire's Home Chef Cookbook is........ Ken McGuire.


Donal setting up a shot for his Grasshopper Pies.

On Saturday I had great day at The Irish Food Bloggers Association Food Styling/Photography workshop. On hand to deliver plenty of advice were Sharon Hearn-Smith and Donal Skehan. Both really nice people with a shared passion for food and how to make each dish simply beautiful when shot on camera. Sharon is responsible for so many of the impressively styled dishes in magazines, cookbook, T.V. ads, films and many more. She also showcases some of her photos and recipes on her website Blueberry Pie and her blogs Friendly Cottage and Sharon Hearne-Smith. Donal writes the most amazing food blog - The Good Mood Food Blog and he seems to be appearing everywhere these days!!! I picked up really useful tips on setting up my photos for the blog and plenty of inside secrets on how the professionals get their food photographs to look so tempting. I'm looking forward to putting all their advice into practice.

Sharon brought these adorable Blueberry Pies for us to enjoy with coffee.

Sharon giving us an insight into the ad she styled for Cully & Sully.